Decorative Bark
Bark Top-Dress
It has been an incredibly busy couple of weeks here at Totnes Gardening. With the record-breaking heat we've been experiencing across Devon lately, my schedule has been packed with new planting, regular maintenance, and—most importantly right now—laying down a whole lot of decorative bark.
I was out on a local job recently putting down a fresh layer of bark on a newly planted border, and it reminded me just how much of a difference the right mulch makes to the character—and survival—of a Totnes garden during a heatwave.
While we often talk about what goes into the ground—like in my previous post on "Gardener’s Gold"—what we put on the ground is just as vital for a healthy, professional finish.
The Bark Breakdown
For my recent projects, I've been utilizing high-quality decorative bark. Right now, it’s not just about covering the mud or making things look tidy; it’s about creating a stable, survivable environment for the plants.
Moisture Management: This is the big one this week. With the scorching temperatures, our heavy local clay can bake hard and crack within days. A thick layer of bark acts like a cooling blanket, preventing the sun from evaporating the water right out of the soil and protecting delicate new roots.
Erosion Control: On the steep slopes we often deal with in the South Hams, bark "knits" together. When the inevitable summer thunderstorms finally break the heatwave, this prevents the topsoil from washing away.
Aesthetic Structure: It provides that crisp "Town Garden" contrast, making the greens of the summer foliage really pop against the deep, earthy tones of the wood chip.
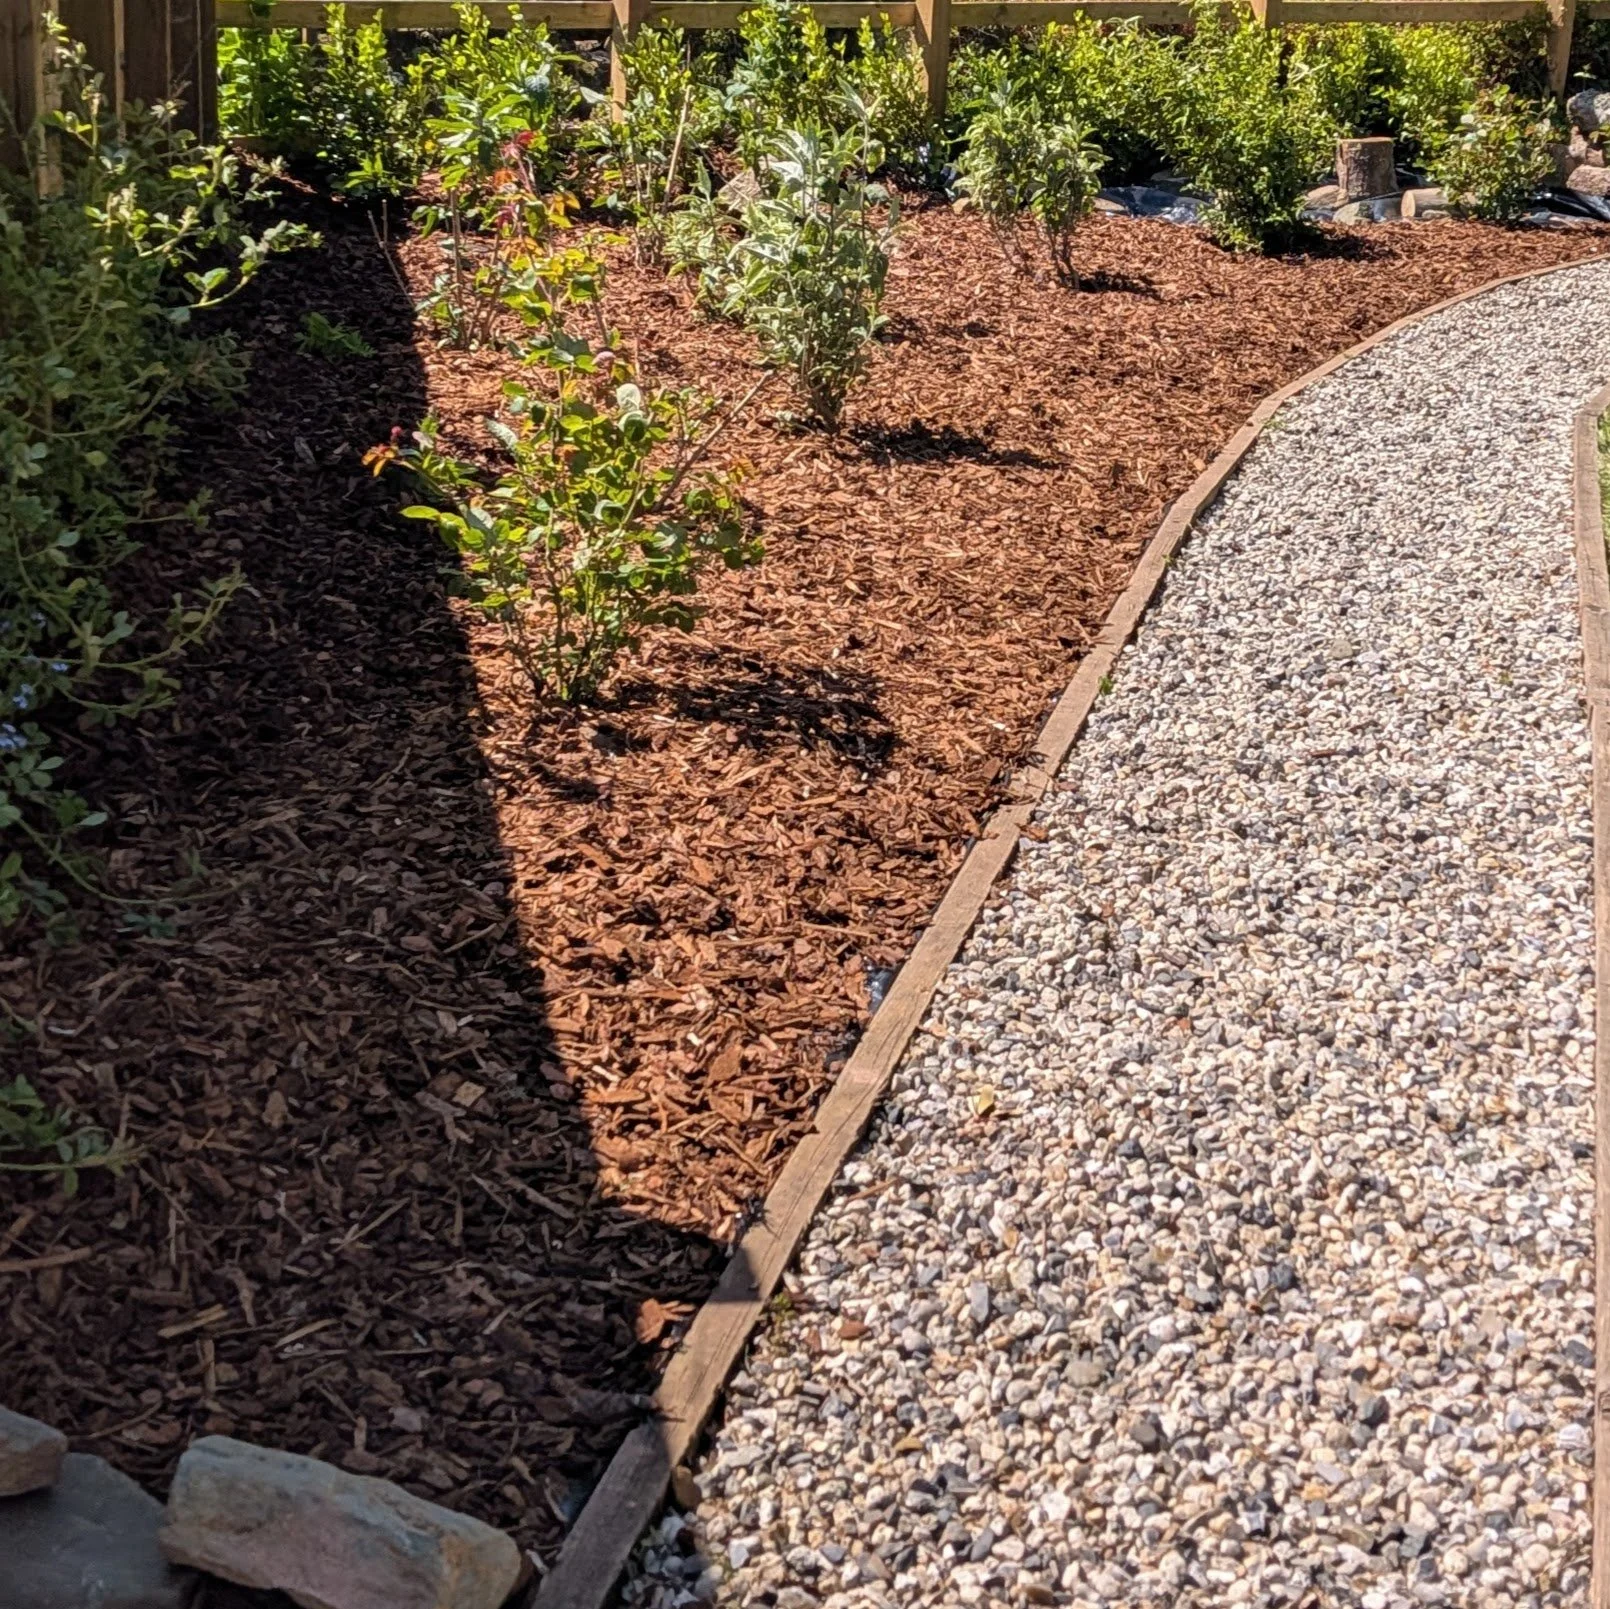
Decorative Bark Totnes Garden
Yesterday’s focus was all about the "top-dress." I was out in a local garden applying a fresh layer of decorative bark, and it reminded me just how much of a difference the right mulch makes to the character of a Totnes garden.
While we often talk about what goes into the ground—like in my post on Gardener’s Gold—what we put on the ground is just as vital for a healthy, professional finish.
The Bark Breakdown
For this project, I chose a high-quality decorative bark. It’s not just about covering the mud; it’s about creating a stable environment for the plants.
Moisture Management: Even when we aren't seeing rain, our heavy clay can bake hard and crack. A thick layer of bark acts like a cooling blanket.
Erosion Control: On the slopes we often deal with in the South West, bark "knits" together, preventing the soil surface from washing away during heavy watering.
Aesthetic Structure: It provides that "Town Garden" contrast, making the greens of the foliage really pop against the deep, earthy tones of the wood chip.
The Membrane Choice
I did something yesterday that I often debate in my other posts: I laid a membrane beneath the bark.
In my Planting Totnes Gardens guide, I usually advocate for direct contact between mulch and soil to improve the clay. However, for this specific site, we needed a long-term barrier against aggressive weeds. By using a membrane yesterday, we ensured that the decorative bark stays clean and sit-on-top perfect, rather than being pulled down into the clay by worms.
Form vs. Function
Bark is incredibly versatile, but you have to know your goal:
With a Membrane: Best for paths and low-maintenance borders where you want the bark to stay "as new" for as long as possible.
Without a Membrane: Best for "Living Borders" where you want the bark to rot down and feed the soil, eventually becoming that "Gardener’s Gold" we all strive for.
Yesterday was a win for Form and Function. The garden looks revitalised, the weeds are suppressed, and the plants have a clean, protected base to grow from.
Are you a fan of the clean look of decorative bark, or do you prefer a more "wild" mulch approach in your own space?